Using Audit Trails
Audit Trails allow you and your collaborators view any and all changes made to various components of a study, and by whom those changes were made.
Step-by-step guide
- First select the Audit Trails icon from the Workspaces menu.
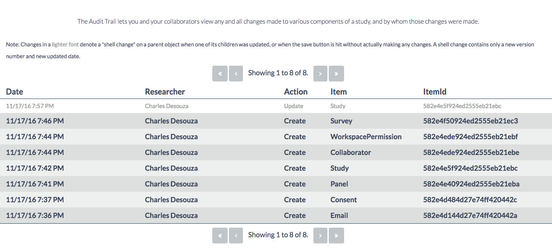
- The following table will display all changes made to components of a study.
- The table displays the date and time a component was changed, which researcher made the change, what the action was, what item was affected, and the item id.
- Click on a change to see the specific details. Note: Changes in a lighter font denote a "shell change" on a parent object when one of its children was updated, or when the save button is hit without actually making any changes. A shell change contains only a new version number and new updated date.
- The changed fields will show up in green, and the previous fields will be shown in red.
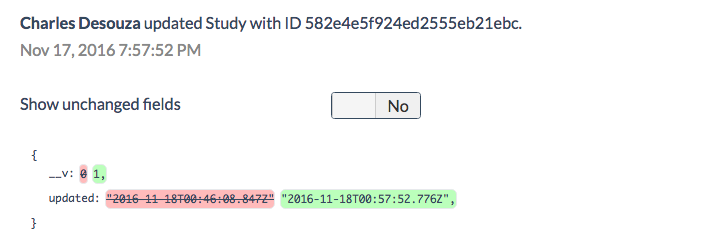
- The previous or changed fields will also be stricken.
Note: Selecting Show Unchanged Fields will allow you to see how objects and fields that remain unaffected by the changes you have made.
Related articles